MRCH/
By MRCH Editorial
One illustration, three merch designs
Take one piece of art and adapt it across a tee, a hoodie, and a supported accessory — the layout decisions that change per garment, and what should stay identical.
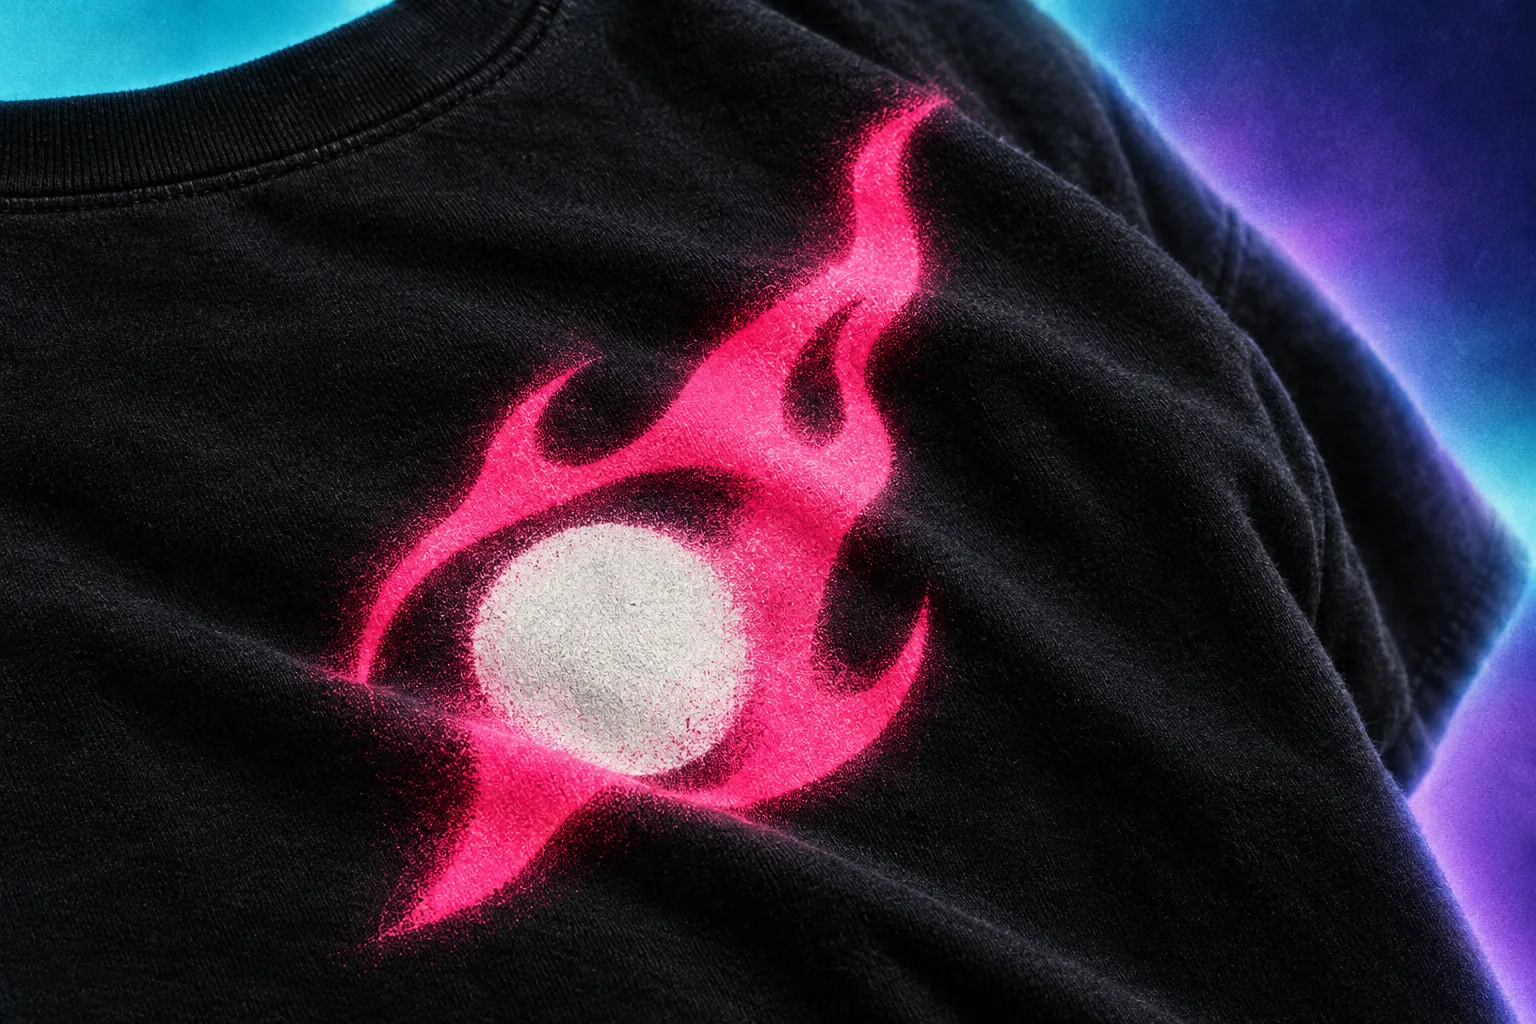
Most merch advice treats "design" as a single event: pick a garment, drop in art, publish. In practice, one piece of art becomes several different layout decisions once it meets more than one garment. A tee's print area is not a hoodie's print area, and neither is an accessory's. This walks through adapting a single illustration — same palette, same motif, same identity — across a tee, a hoodie, and one more real supported blank, and what actually changes at each step.
This is not a step-by-step upload tutorial. For the full click-by-click path from blank account to a published listing, see How to design and sell custom merch. This piece is about the art-direction decisions in between: what to keep fixed across a set, and what a garment's own shape forces you to change.
What stays consistent: palette, motif, identity
A merch set reads as a set when the palette, the central motif, and the overall identity don't drift between products. If the tee print is a warm two-color line illustration, the hoodie and the accessory should draw from the same two colors and the same drawing style — not a lighter recolor for one SKU and a heavier one for another. What's allowed to change is scale, crop, and placement, because those are dictated by the garment, not by taste.
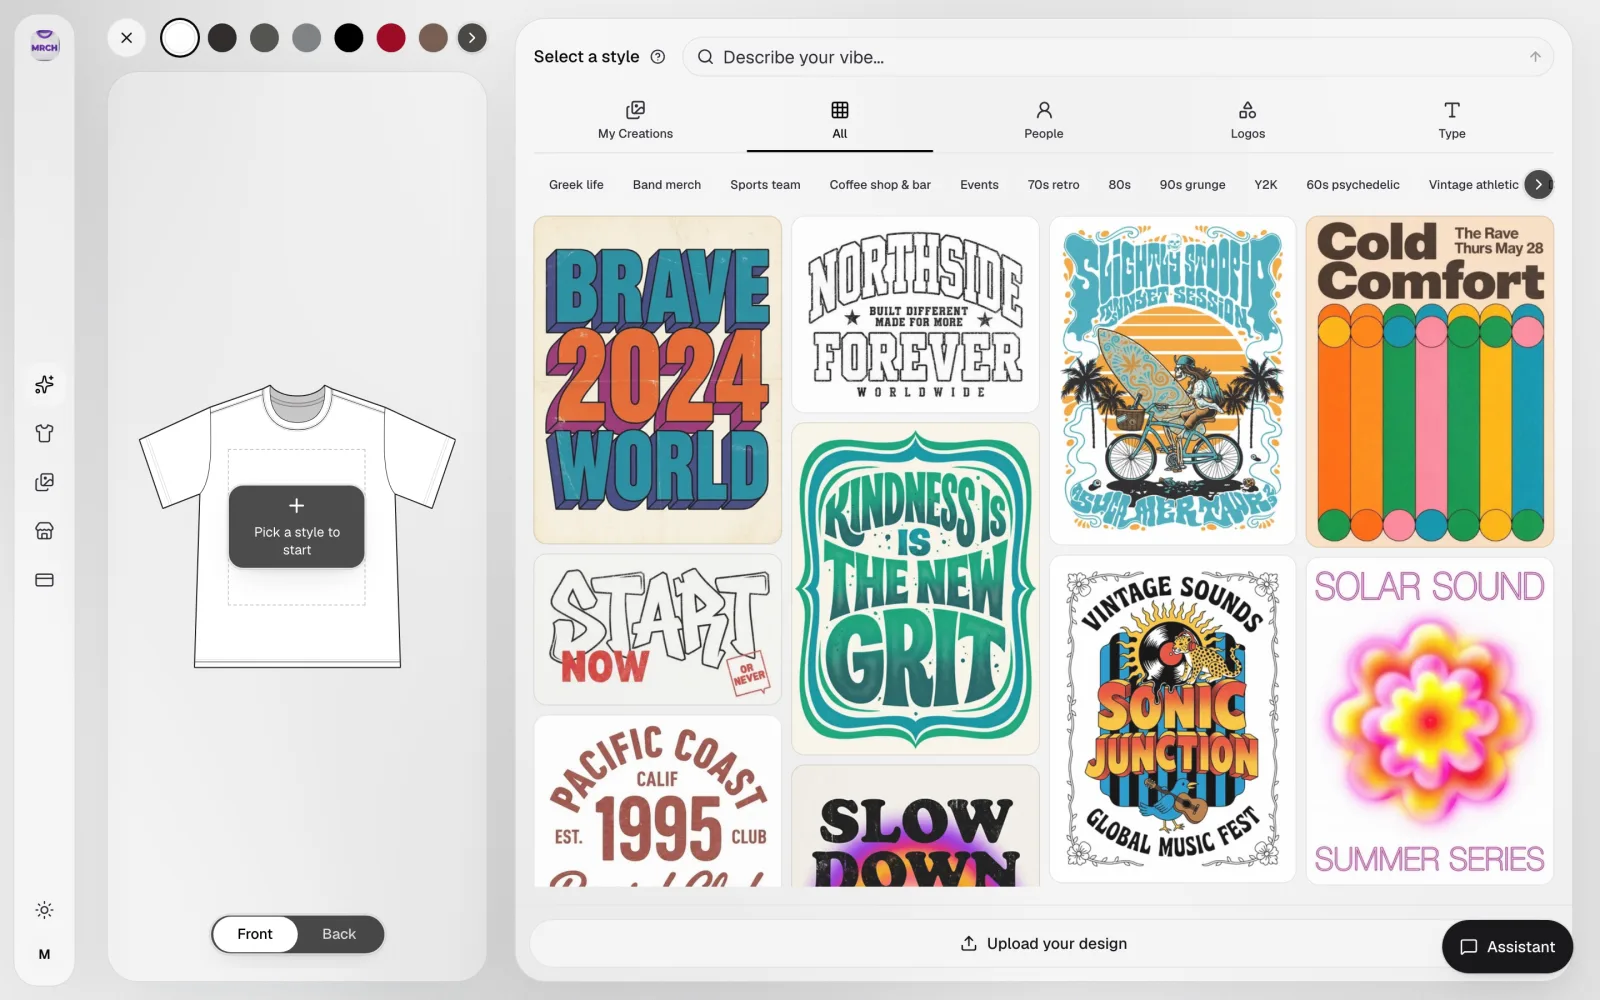
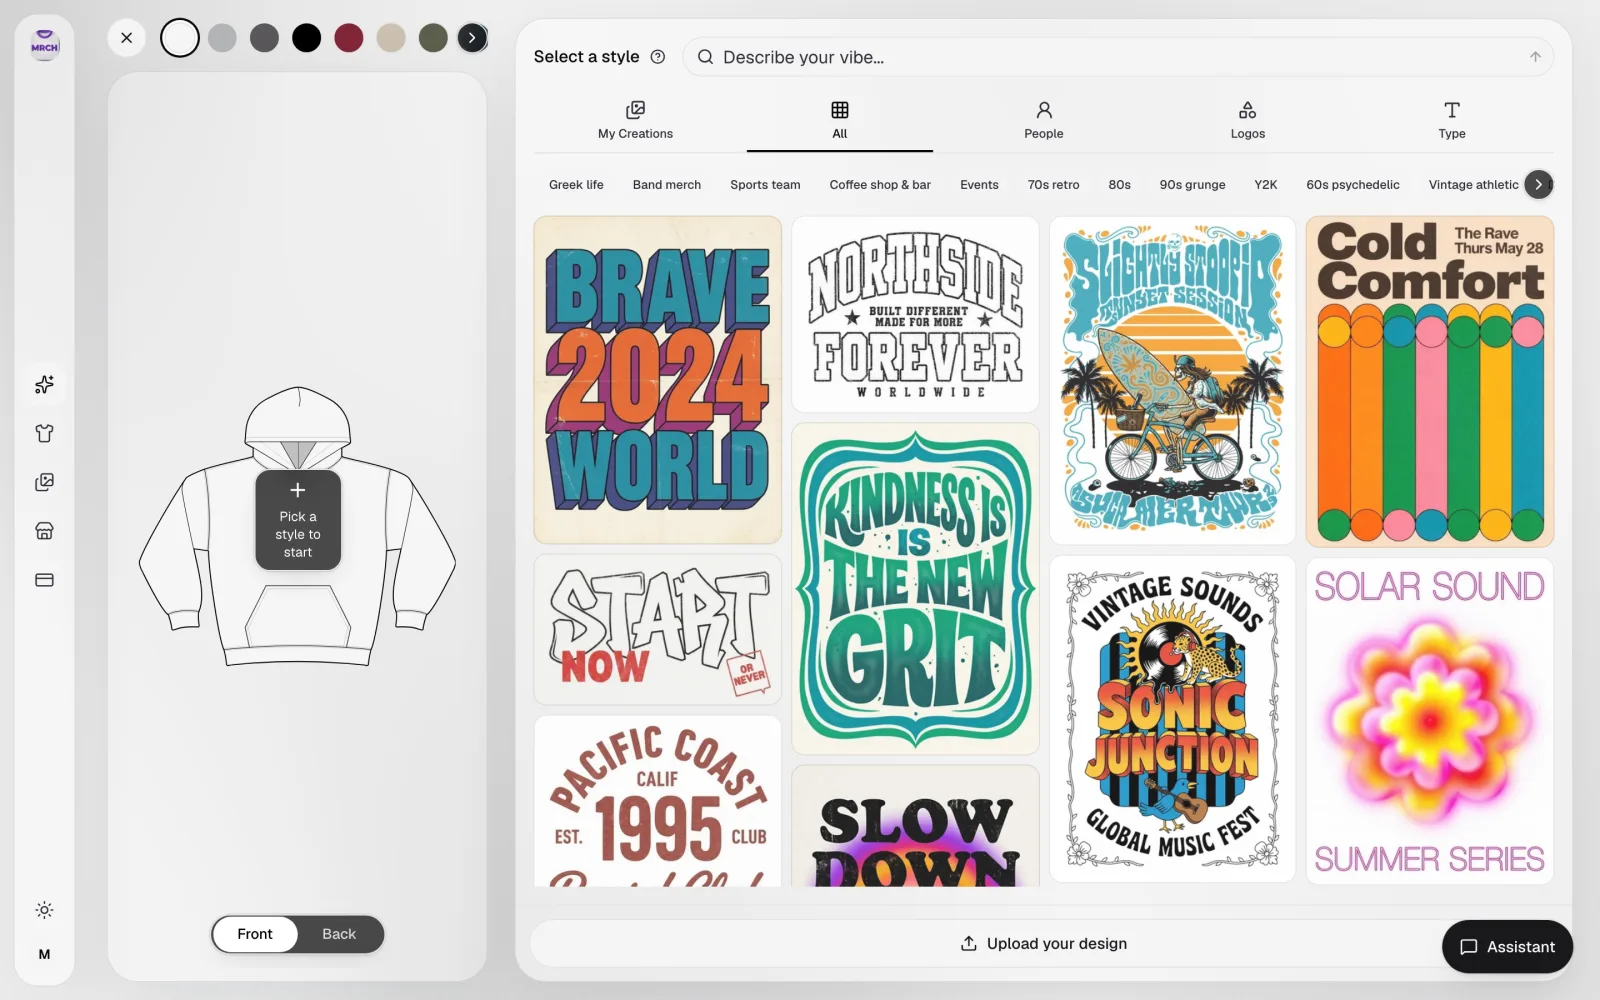
The MRCH canvas keeps the same style-and-upload workflow across garments — the print-area box, the Customize panel, and the Front/Back toggle behave the same way whichever blank is selected — which is what makes a consistent set practical to build without re-learning a new tool per product.
Tee: one layout decision
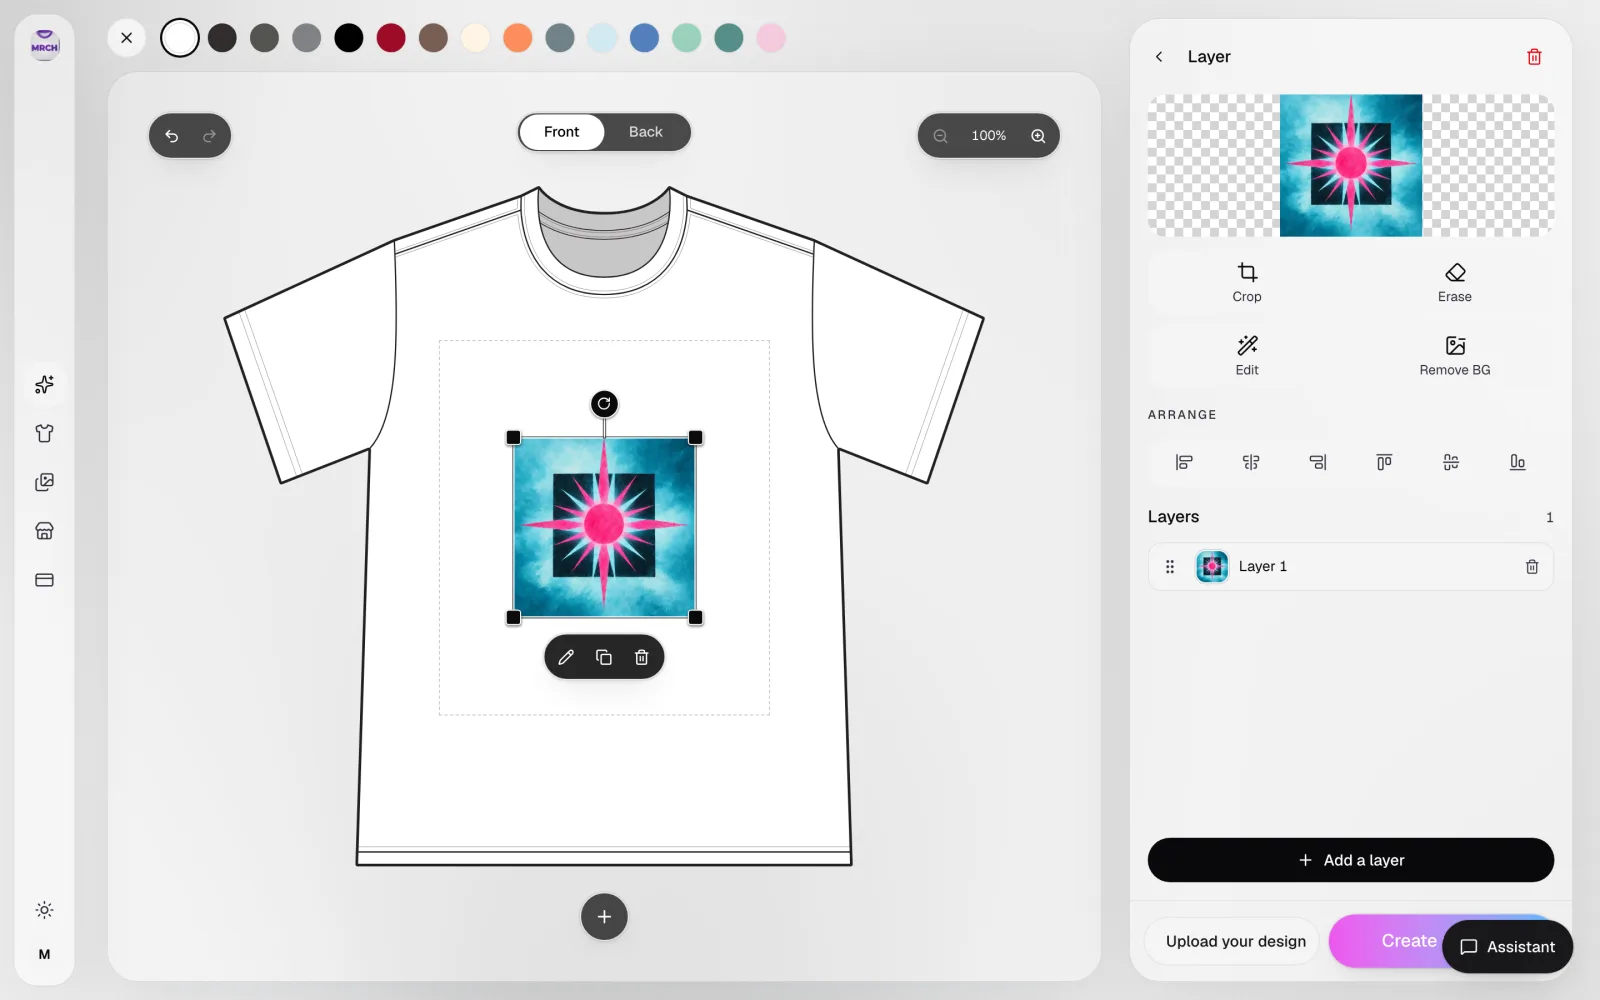
A tee's front print area is close to a flat rectangle centered on the chest, which is the most forgiving surface in the set. The one real decision is scale and vertical position within that box: a large single-motif print that fills most of the box reads as a statement piece, while a smaller chest-left placement reads closer to a logo. Both are valid — the point is to pick one and use it as the reference crop the rest of the set gets checked against.
In the canvas, that decision happens inside the Customize panel: the design sits at a fixed scale inside the print-area box, with zoom and the Front/Back toggle available to check placement before moving to the next garment.
Hoodie: a different physical constraint
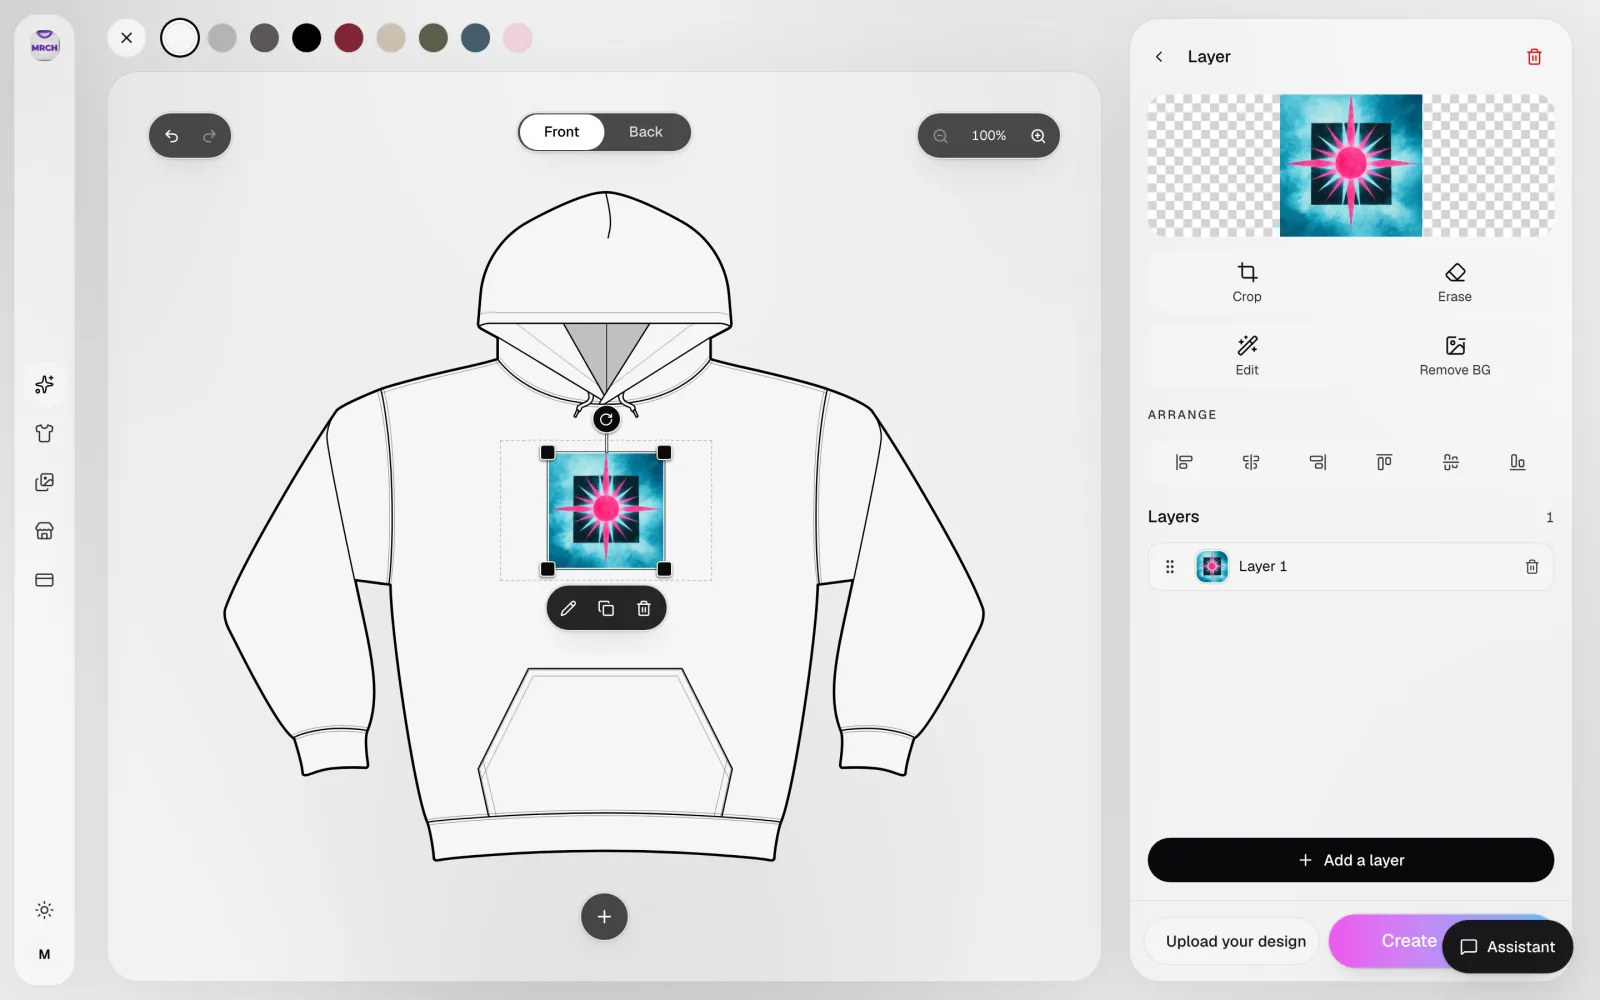
A hoodie's front is not a clean rectangle the way a tee's is. There's a drawstring and hood seam near the top of the print area, and on many blanks a kangaroo-pocket seam runs across the lower portion of the chest. A crop that reads fine on a tee can land its lower edge right on that seam on a hoodie, which is exactly the kind of thing that only shows up once you look at the hoodie blank itself rather than assuming the tee crop transfers.
The fix isn't a different illustration — it's re-checking placement on the hoodie's own print-area box. That can mean nudging the crop upward, trimming the bottom of the motif, or scaling down slightly so the full print sits clear of the seam.
A third real product: don't assume the accessory just works
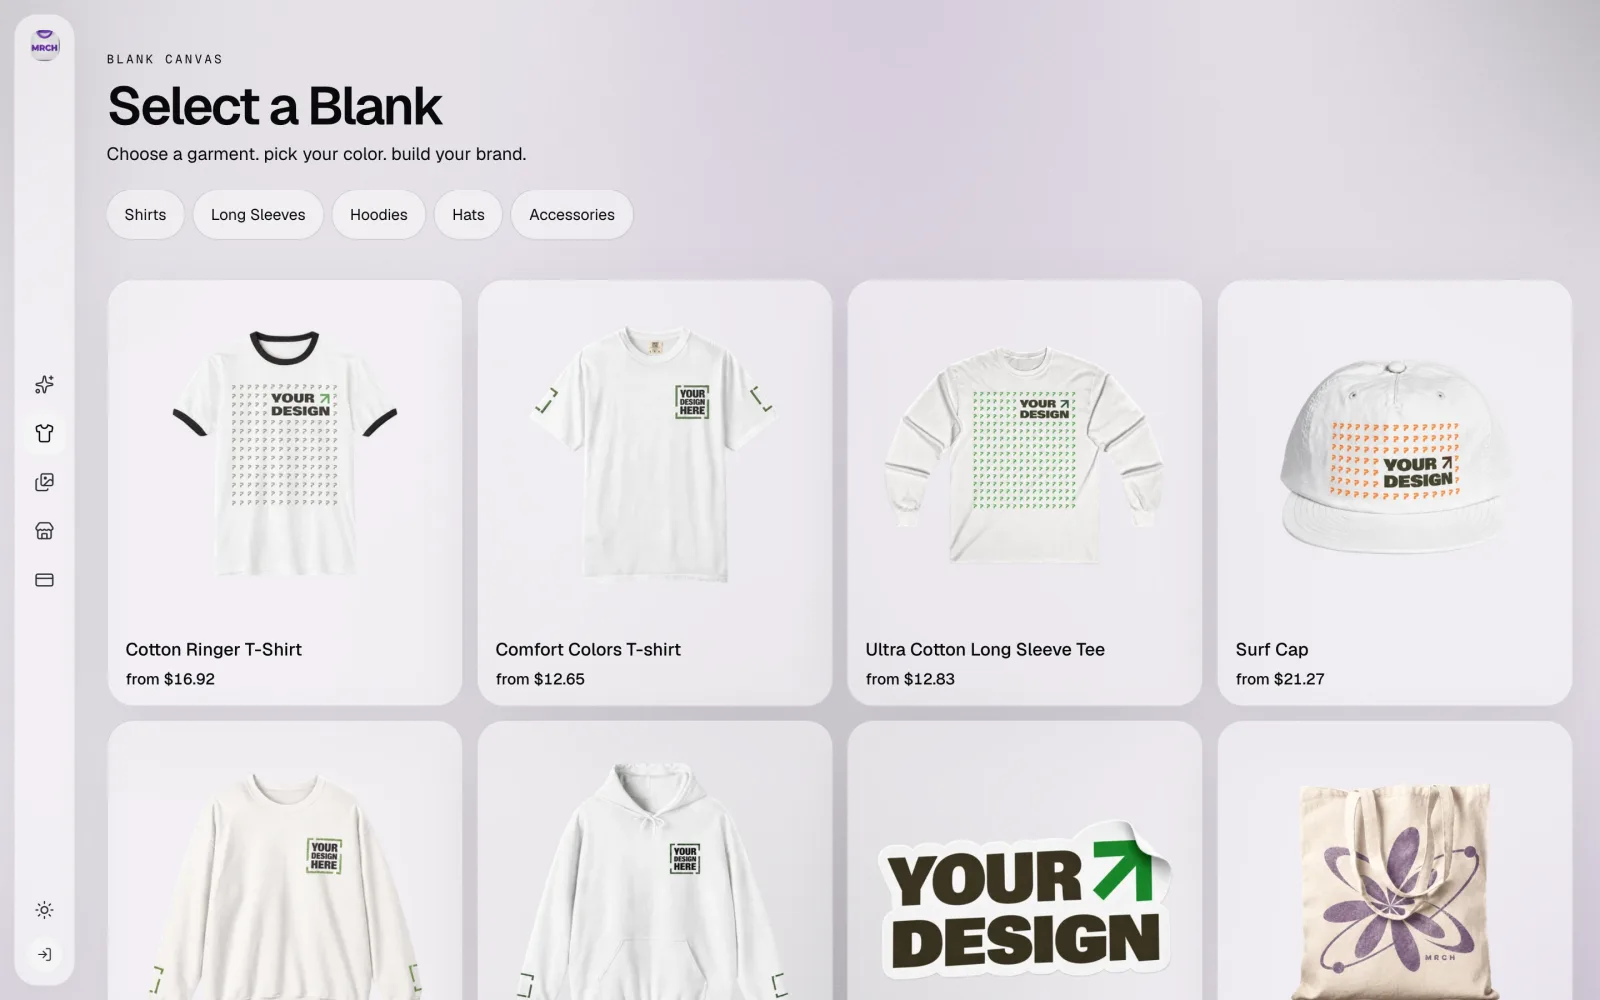
It's tempting to stop at tee-plus-hoodie and call the set finished, but a lot of merch sets die the first time a buyer asks for a hat or a bag. Before naming a third product, check what's actually in the catalogue rather than assuming a blank exists. The real filters on the MRCH blanks page are Shirts, Long Sleeves, Hoodies, Hats, and Accessories, and the real blanks behind those filters include a Surf Cap listed from $21.27 — a catalogue from-price checked 2026-09-21, not a fee or a margin.
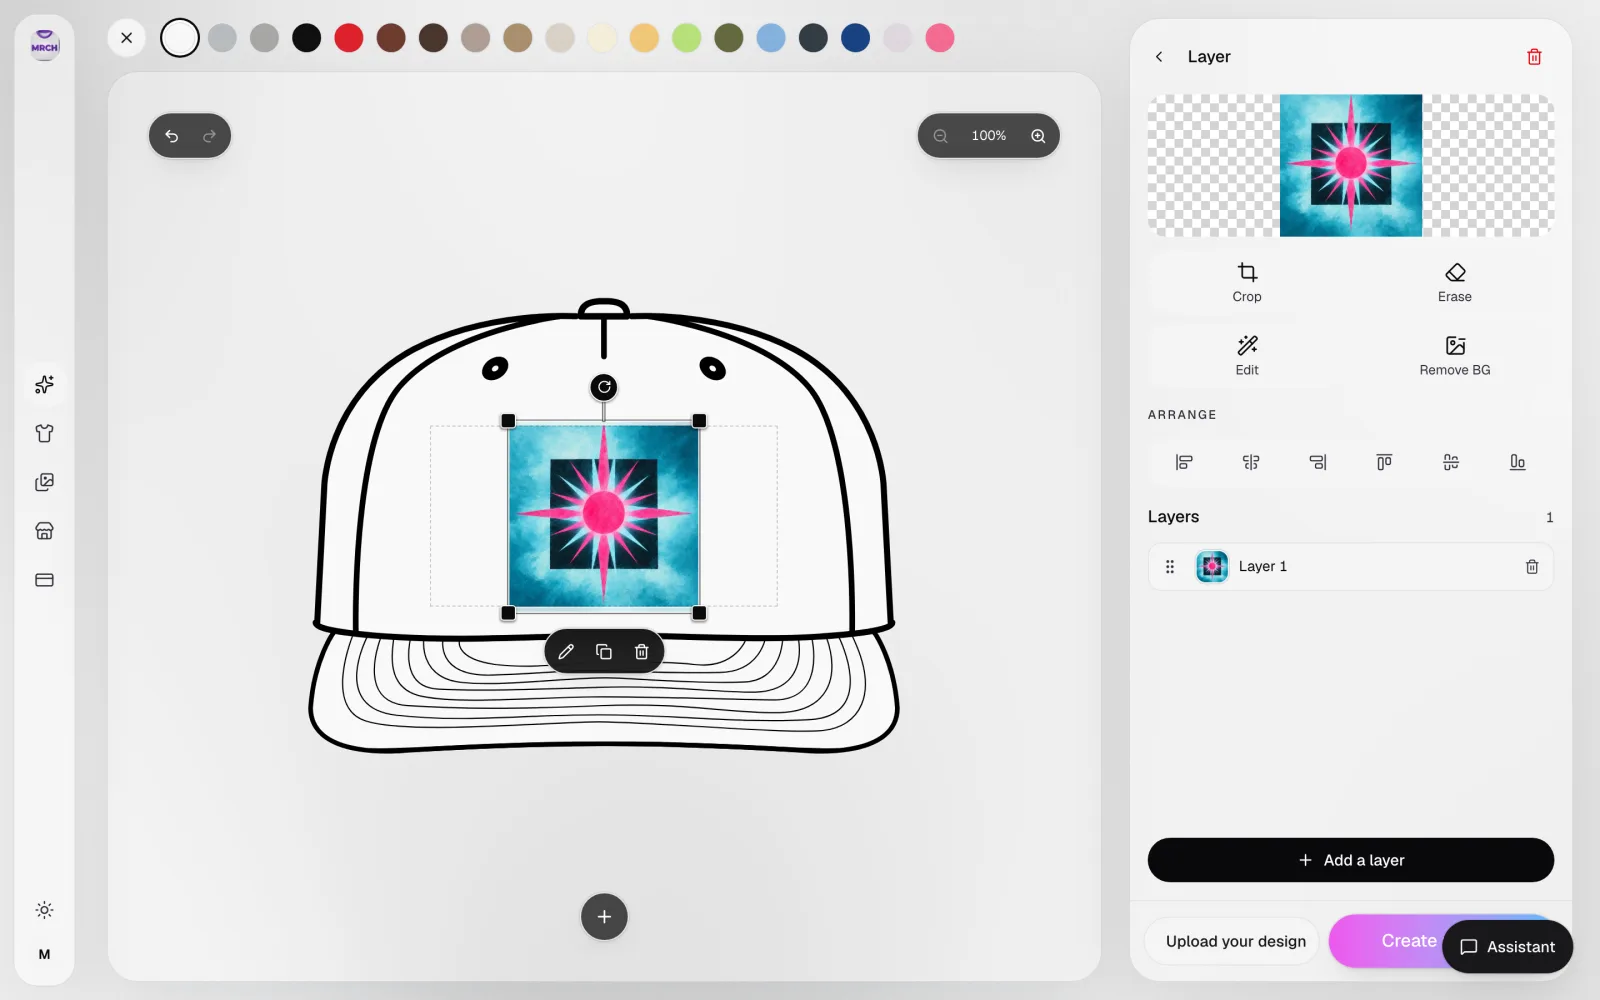
A cap's usable print or embroidery area is small and curved compared with a flat tee panel, so the full illustration that fills a tee's chest box almost never transfers directly. Treat the third product as its own layout decision — usually a simplified mark pulled from the same illustration (the central motif alone, at the same palette) rather than the whole scene shrunk down — and check that blank's own print area in the canvas before assuming anything fits.
Inspect file quality and prepare product versions
Before treating any of these three placements as final, zoom in on the print-area box at 100% for each one. A file that looks sharp as a thumbnail can show soft edges, banding, or pixelation once it's sized to an actual print area — and that shows up worse on a large tee print than on a small accessory mark, so check the largest placement in the set first.
- Zoom to 100% inside the print-area box, not just the thumbnail preview, before treating a placement as final.
- Check the tee crop, the hoodie crop, and the accessory mark separately — each is its own placement decision, not a resize of the others.
- If fine linework or small text softens at zoom, simplify the file rather than shrinking a detailed version further.
- Use the Front/Back toggle to confirm you're not leaving a back print unplaced when the set implies one.
Start with your own art
Everything above works the same whether the illustration came from a style template or from a file you already own. If you have your own artwork, the 'Upload your design' button is the same canvas workflow — bring in the file, place it in the print-area box, and make the same per-garment layout decisions described here.
Only upload art you have the right to sell. MRCH does not verify ownership of uploaded files — that check is yours before you publish anything with your name on it.
Sources
- MRCH garment hub — Live product entry point, checked 2026-09-21.
- W20 product screenshot set — Internal capture set, apps/web/public/marketing/screenshots/w20/, captured 2026-09-21 (Playwright, authenticated dev session against production API for canvas-* frames; live production for catalog-*).
MRCH facts and product screenshots verified against the live MRCH app (sellmerch.ai) and its real supported catalogue, checked 2026-09-21. No physically printed sample exists for this piece; no claim here implies one does. No paid image generation was used.
FAQ
Do I need a separate file for every product? You need one source file that is clean enough to reuse, then you make a placement decision per garment. A tee's print area is a roughly rectangular chest box. A hoodie has the same box but a drawstring, a seam, and sometimes a pocket running through the lower third. A cap or accessory's usable area is smaller and shaped differently again. Check the print-area box for the specific blank you picked before you assume one crop works everywhere.
Does the hoodie use the exact same print file as the tee? The same illustration and palette, not necessarily the same crop. Because a hoodie's front print area sits above a drawstring and can run into a pocket seam, a full-width layout that reads cleanly on a tee can get interrupted on a hoodie. Re-check placement on the hoodie blank in the canvas rather than copying tee coordinates over.
What is the third product here, and is it real? It's an accessory from MRCH's actual supported catalogue — not a rendered concept. The real filters on the blanks page are Shirts, Long Sleeves, Hoodies, Hats, and Accessories, and a Surf Cap is a real blank listed from $21.27 (catalogue from-price, checked 2026-09-21). A cap's usable decoration area is much smaller and curved compared with a flat tee panel, so don't assume your full chest illustration transfers as-is — check that blank's own print area first.
How do I know if my illustration will hold up at print size? Zoom in on the print-area box in the canvas at 100% before you submit anything. Thin linework, small text, and low-resolution scans that look fine as a thumbnail can turn soft or pixelated once they're sized to an actual chest print. If detail disappears at zoom, it will disappear on the blank too.
Can I use art I didn't draw myself? Only if you have the right to sell it. Upload your own illustration, or generate one, on the same canvas print-area workflow described here. MRCH does not verify ownership of uploaded artwork, so that check is on you.
MRCH
Design it. Price it. Publish.
Continue on Start a merch design in MRCH — generate art, set a price, and publish a store.